
Faceless Video API for TikTok and YouTube Shorts
Turn a script into a 9:16 faceless video with AI voiceover and word-synced captions in one API call. The request, the real cost per clip, and how to post it.

Founder
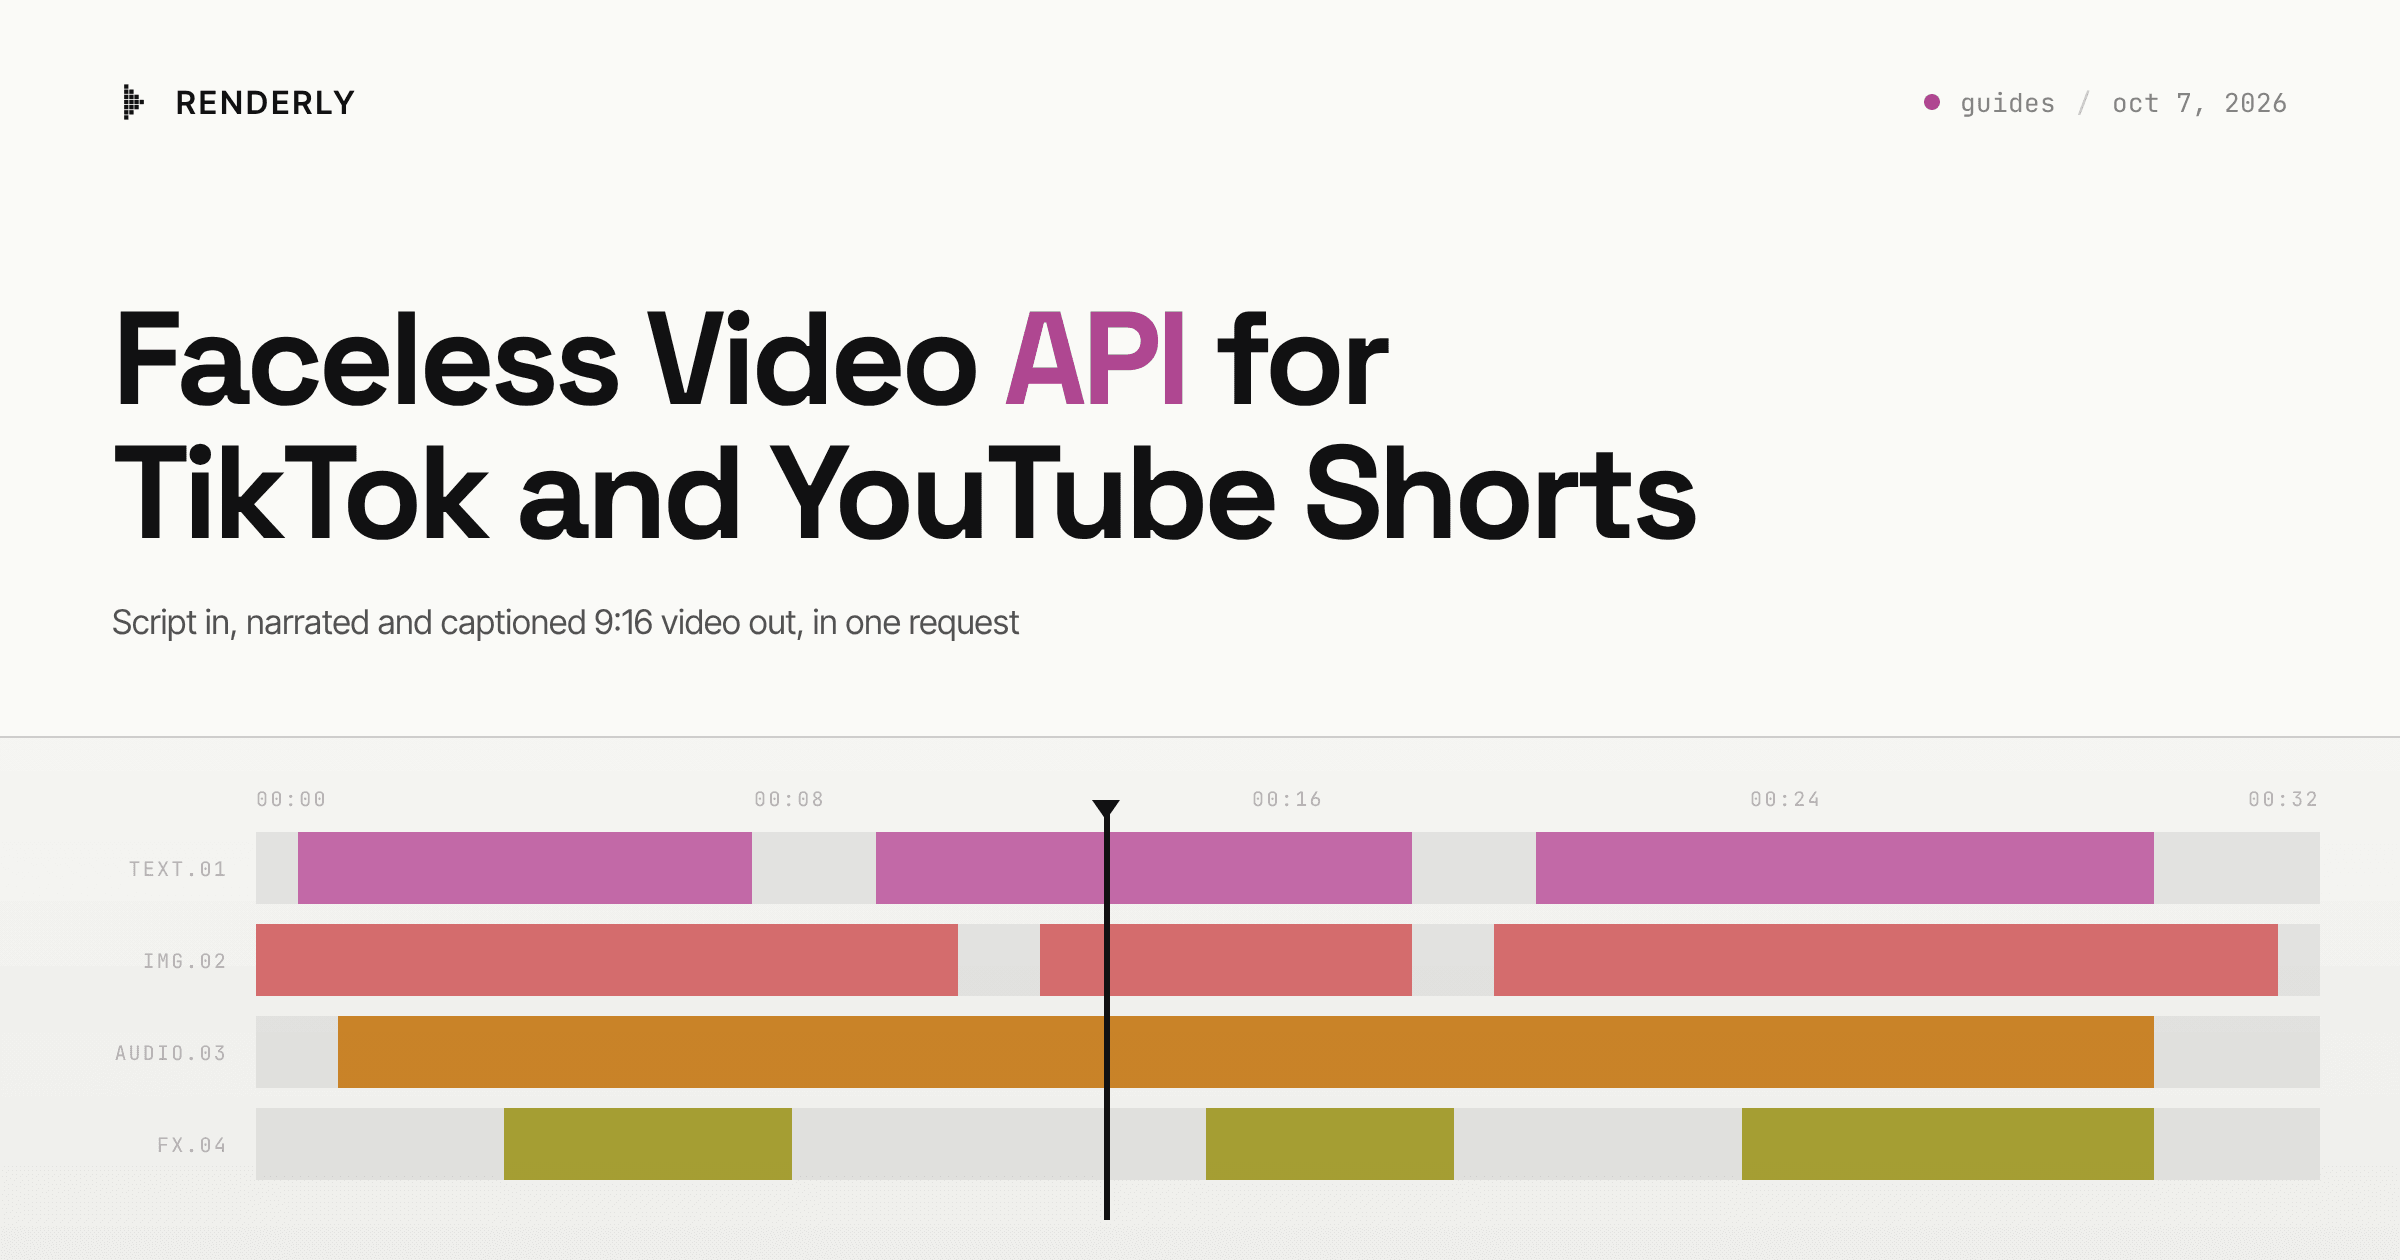
A faceless short is a script, a voice, captions and a 9:16 frame. Most pipelines
build it from four services: a text-to-speech API, a transcription API, a
compositor and a host. With Renderly it is one request. You send the script as a
tts value and point a transcribe value at the narration. Renderly generates
the voice, times the captions to every word, renders a 1080x1920 MP4 and sends
the file URL to your webhook. A 48-second narrated clip costs 1.5 credits.
Key Takeaways
- One
POST /api/v1/renderscall takes a script and returns a narrated, captioned 9:16 MP4 by webhook.- Captions built from narration that the same request generated are free, because the word timings come back with the audio.
- A 48-second clip costs 1.5 credits - 1 for the render, 0.5 for the voice. That is $0.30 on pay-as-you-go and about $0.15 on Business.
- One 1080x1920 render serves TikTok and YouTube Shorts. Shorts can run up to 3 minutes.
- Publishing is a separate step. Both TikTok and YouTube keep posts private until your API client passes their review.
What does the one request look like?
YouTube's own upload page says a Short can be "Up to 3 minutes" long, "With a square or vertical aspect ratio" (YouTube Help, Upload YouTube Shorts). So one 1080x1920 file fits both feeds, and the job is to make that file from a script.
This is the request. It renders a copy of the Scary Story / Creepypasta template, a 48-second 9:16 story short, with a narration slot and a caption slot (the one-time setup is in the next section):
curl -X POST https://renderly.video/api/v1/renders \
  -H "Authorization: Bearer $RENDERLY_API_KEY" \
  -H "Content-Type: application/json" \
  -d '{
    "projectId": "your_project_id",
    "replacements": {
      "story_title": "The Last Bus\nHome",
      "hook_line": "Every night I take the 11:40\nbus home. Tonight the driver\ndid not stop at my street.",
      "turn_line": "Route 14 was\ncancelled in\n2019.",
      "turn_phrase": "cancelled",
      "final_line": "The bus is outside\nmy house again.",
      "backdrop_1": "https://cdn.example.com/bus-stop-night.jpg",
      "backdrop_1_ghost": "https://cdn.example.com/bus-stop-night-grey.jpg",
      "backdrop_2": "https://cdn.example.com/empty-street.jpg",
      "channel_handle": "@nightshift.stories",
      "narration": {
        "tts": {
          "text": "I said my stop twice. The driver kept his eyes on the road. Every seat behind me was empty, and every window showed the same street, over and over.",
          "voice": "jacob",
          "speed": 1
        }
      },
      "subtitles": {
        "transcribe": { "source": "narration" }
      }
    },
    "webhookUrl": "https://your-app.com/hooks/renderly"
}'Three kinds of value sit in the same replacements object:
- Text and images - plain strings swap into the template's dynamic overlays by name.
narration- attsobject. Renderly generates the audio, puts its URL in the sound overlay, and stretches the overlay to the real audio length.subtitles- atranscribeobject whosesourcenames the narration overlay. Renderly fills the caption overlay with word-timed captions of that audio.
The response returns a jobId at once, because rendering is asynchronous.
A faceless video API call needs three things in one request: the template's
text and images, a tts script for the voice, and a transcribe value that
points the captions at that voice. Renderly runs all three in one render job and
returns a 1080x1920 MP4.
How do you set up the template once?
The faceless templates ship with a fixed music bed and no dynamic caption slot, so you enable the two AI slots in your own copy. Renderly's own docs list the steps (AI features guide):
- Open the template page and clone it into a project.
- Add a sound overlay for the voice. Set its Name to
narrationand tick Dynamic. It needs no placeholder audio. - Select a caption overlay - the Scary Story template already has a word-timed
caption band - set its Name to
subtitlesand tick Dynamic. - Delete the six static story lines under the caption band in scene 2. They hold the template's own story as fixed text, so a clone that keeps them shows that story under every new script.
- Put both overlays on the same start frame. If they start on different frames, Renderly shifts the caption timings by the gap.
Check the slots with GET /api/v1/projects/{projectId}/variables. The two names
should be in the list next to the text and image fields.
The script sets the length. Renderly stretches the narration overlay to the
real audio. If the voice runs past the end of the video, Renderly extends the
caption overlay and the composition to fit, and it does this before it calculates
the render credits. The template's scenes do not re-time. So a script that runs
long gives you a longer clip with no scene planned for the extra seconds, and a
higher bill. Write the
script for the scene it reads over, or raise speed.
In Scary Story the caption band covers scene 2, from 8 to 20 seconds. So keep the script to about 30 words, as in the example above. A longer script stretches the band over the text in scenes 3 to 5, and past 40 seconds of audio it also makes the clip longer than 48 seconds. To narrate the whole video, move and stretch the band in your copy first.
There is also a no-setup path. If your code builds the whole composition, send it
as inputProps with the two named overlays inside it. Replacements apply to
dynamic overlays in that mode too, so the same narration and subtitles values
work.
Why are the captions free?
Renderly's default voice provider returns word-level speech marks with the
audio: each word with its start and end time in milliseconds. When a
transcribe value points at narration that the same request generated, Renderly
builds the captions from those marks. It does not send the audio to a
speech-to-text service, so the captions match the script word for word and cost
nothing.
Two conditions apply:
- No clip window. If you pass
startTimeorendTimeinsidetranscribe, Renderly transcribes the real audio and bills it at 0.25 credits per started minute. - Your own audio is billed. If
sourcepoints at a voice file you recorded yourself, orurlpoints at an outside file, that is a normal transcription at the same 0.25-credit rate.
The captions take the style of the caption overlay in your template: font, colour, position and word highlight. The API sends the words. The designer keeps the look.
When the captions come from narration generated in the same render request, Renderly builds them from the speech marks that the voice provider returns with the audio. No transcription pass runs, so the captions match the script exactly and cost 0 credits.
What does one clip cost?
A render costs 1 credit per minute at 1080p, rounded up to the nearest half credit. 1080x1920 is the same pixel count as 1920x1080, so it bills at the 1080p rate. The voice costs 0.5 credits per started 1,000 characters of script.
For the 48-second Scary Story clip with a script under 1,000 characters:
| Item | Credits |
|---|---|
| Render, 48 s at 1080x1920 | 1.0 |
| Voiceover, script under 1,000 characters | 0.5 |
| Captions from that voiceover | 0 |
| Total per clip | 1.5 |
Be clear about the rounding. 48 seconds is 0.8 of a minute, and the render bills as a full credit. A clip of 31 to 60 seconds costs the same 1 credit, so a format that fills its minute gets the most out of each credit. A clip that runs past 60 seconds moves to 1.5 credits for the render.
In money, 1.5 credits is $0.30 at the pay-as-you-go rate of $0.20 per credit, about $0.22 on the Creator plan ($29 for 200 credits), and about $0.15 on the Business plan ($99 for 1,000 credits). The Creator plan covers 133 narrated clips a month. Business covers 666.
The creditsUsed field in the render response is the render charge only. The
voice is billed when it is generated and is logged as a separate AI job, so your
cost history shows both lines.
A 48-second narrated, captioned faceless clip at 1080x1920 costs 1.5 Renderly credits: 1 credit for the render, because billing rounds up to the nearest half credit, and 0.5 credits for a script under 1,000 characters. That is $0.30 on pay-as-you-go and about $0.15 on the Business plan.
How do you post the same render to TikTok and Shorts?
Both platforms take the MP4. Both also keep it private until your API client passes their review, and most faceless-video guides leave that out.
YouTube. Google's reference for videos.insert says: "A call to this method
has a quota cost of 1 unit in the Video Uploads quota bucket," with a quota
impact of "100 calls per day." It also says: "All videos uploaded via the
videos.insert endpoint from unverified API projects created after 28 July 2020
will be restricted to private viewing mode"
(YouTube Data API, Videos: insert,
last updated 2026-09-14). Get the project verified before you schedule a public
channel.
TikTok. TikTok's Content Posting API guide says: "All content posted by
unaudited clients will be restricted to private viewing mode"
(TikTok for Developers, Direct Post).
Its API reference adds: "To use PULL_FROM_URL as the video transfer method, the
developer must verify the ownership of the URL prefix or domain." So TikTok
cannot pull the file from Renderly's URL directly. Download the MP4 from
outputUrl and send it with FILE_UPLOAD, or copy it to a domain you have
verified.
Keep text out of the strip each app covers with its own buttons and captions - the bottom of the frame and the right-hand column. Our TikTok automation guide shows how one template keeps its key frame clear of that chrome.
One 1080x1920 render can go to both TikTok and YouTube Shorts. Both platforms restrict API posts to private viewing until the client passes review: TikTok for unaudited clients, and YouTube for unverified API projects created after 28 July 2020.
How do you run a batch?
One row of data is one request. Loop the rows and send one POST per row with a
webhookUrl. Each render.completed event carries the job's outputUrl, and
you hand that file to the publisher on its own schedule. The
webhooks guide covers the
HMAC-SHA256 signature check.
Know these limits before you queue a month of clips:
- 3
ttsvalues and 3transcribevalues per render. A fourth returns a 400 error. For more voice clips in one video, generate them first withPOST /api/v1/ai/voiceoverand pass the returned URLs as plain values. - 4,096 characters per
ttsvalue. That is far more than a short needs. - Previews skip the AI steps.
POST /api/v1/previewsdoes not generate audio or captions unless you sendconfirmAiCost: true, so you can check the layout for free first. The preview guide shows how.
No-code. In n8n, an HTTP Request node sends the same JSON body as it is. Our
n8n guide has the
loop. In Zapier, the simplest way to send the nested tts and transcribe objects
is a custom API request step with the same JSON body. The
Zapier guide covers the rest
of the Zap.
Which page is for you? This post is for developers who call the API from code. If you run a channel from a spreadsheet with no code, the faceless YouTube Shorts guide is the same workflow, step by step.
The short version
- One request: text and images as strings, the voice as a
ttsobject, the captions as atranscribeobject that names the voice. - One-time setup: clone a template, then name a sound overlay and a caption overlay and mark both Dynamic.
- Cost: 1.5 credits for a 48-second narrated, captioned clip. The captions are free.
- Posting: one 1080x1920 file for TikTok and Shorts, after both platforms approve your API client.
Start from a faceless template such as Scary Story / Creepypasta, Science Fact of the Day or Historical Fact / On This Day, and render your first clip with the free credits every new account gets.
Frequently asked
Can one API call make a faceless video with voiceover and captions?
What does one narrated faceless clip cost?
Does one render work for both TikTok and YouTube Shorts?
Does Renderly post the video to TikTok or YouTube for me?
Which voices can the narration use?
Can I run this from n8n or Zapier instead of code?
Related Articles
Renderly Ships AI Voiceover and Auto-Captions
Renderly now turns a script into a narrated, word-synced-captioned video in one API call. AI voiceover (12 curated voices, 992-voice catalogue) + auto-captions, flat credit pricing.
July 19, 2026
How to Set Up Video Rendering Webhooks (Production Guide)
Video rendering is asynchronous — polling wastes 90%+ of requests. This guide covers HMAC SHA-256 signature verification, retry semantics, idempotency, and the raw-body pitfall that breaks most webhook handlers.
May 28, 2026
How to Build Automated Video Workflows with n8n (Step-by-Step Guide)
n8n hit 183k+ GitHub stars and 230k+ active users in 2026 — the fastest-growing workflow automation platform. This guide walks through building a video automation workflow with n8n + Renderly's API in under 45 minutes.
May 25, 2026
How to Let Your AI Agent Preview Videos Before Rendering (Free, No Credits)
66% of developers say their top AI frustration is output that's almost right but not quite. Renderly's free preview endpoint lets your agent see the video first.
August 11, 2026
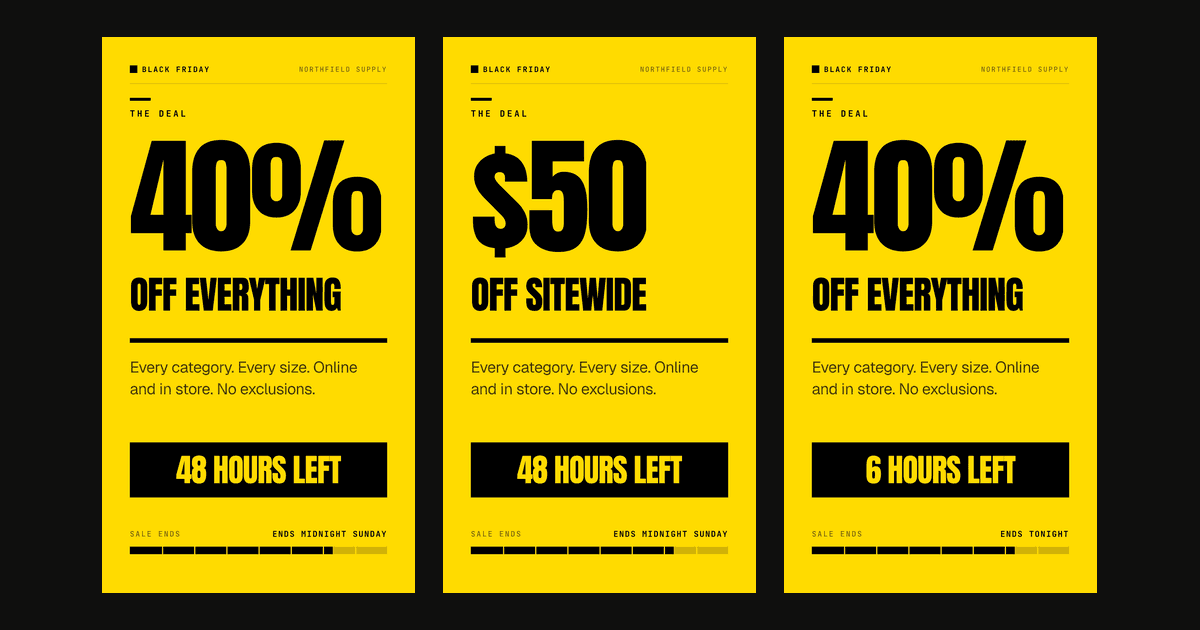
Social Media Video Automation: Batch-Render Ad Variants
TikTok suggests 3-5 creatives per ad group across 3-5 ad groups, so up to 25 videos. We rendered variants of one 9:16 template in 13 to 19 seconds each.
August 20, 2026